April 21, 20268 min read
How to Press Flowers: 4 Methods That Actually Work (2026 Guide)
Pressing flowers is one of those crafts where the fundamentals haven't changed in 200 years — flatten, dry, protect from moisture and light — but the methods have. A stack of heavy books still works. So does a $15 wooden press, a dry iron, and (yes) a microwave. Each has its place. This guide walks through all four, tells you when to use each, and covers the part most articles skip: how to keep the color from fading.
We teach this at every Petal Craft Social workshop because guests ask about it constantly, and because the finished piece gets a lot better when you understand what's actually happening inside the press.
The 6 steps (they apply to every method)
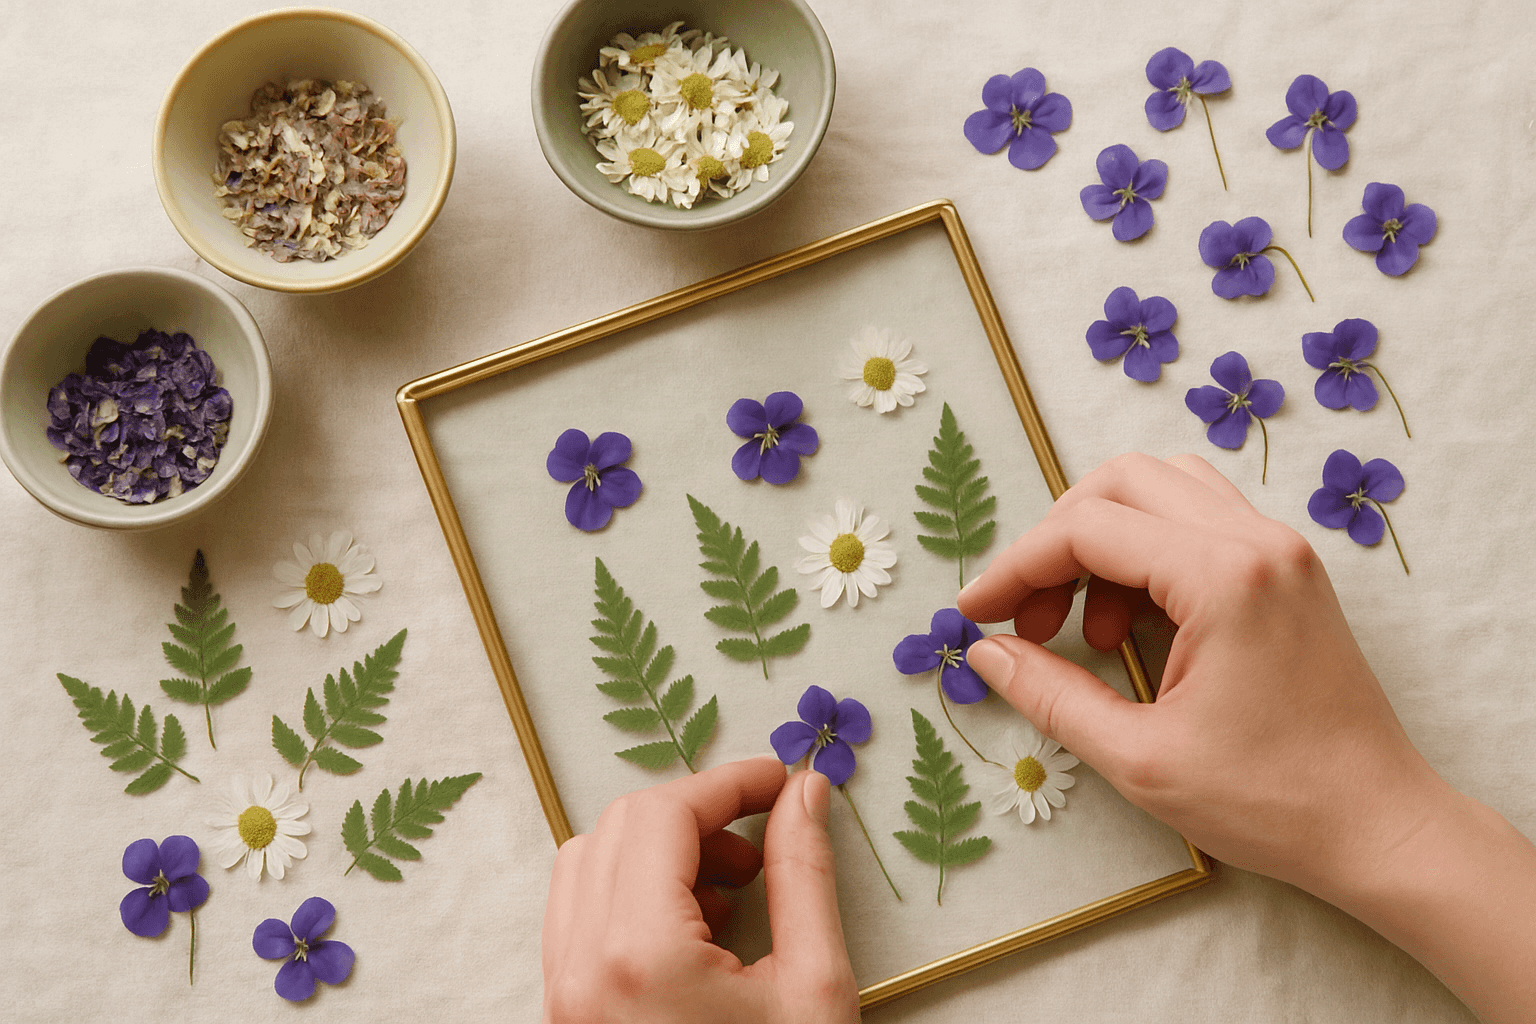
- Pick the right flowers.Flat-faced blooms press best — pansies, violets, cosmos, daisies, larkspur, most ferns and leaves. Bulky water-heavy flowers (roses, peonies, tulips) need to be split before pressing or they'll rot. Pick mid-morning after the dew has evaporated but before the afternoon heat stresses the petals.
- Prep the specimens. Trim stems, remove damaged petals, blot any moisture. For a rose or peony, split it vertically with a craft knife so only one layer of petals sits on the paper.
- Arrange between absorbent paper. Blotting paper, parchment, or plain printer paper all work. Newspaper absorbs well but can transfer ink to pale petals — avoid it for anything white or pastel.
- Apply even, heavy pressure.Sandwich the paper between two flat rigid surfaces (cardboard + heavy books, or a dedicated press). Weight matters more than most people think — a casual stack of two paperbacks won't flatten thick petals.
- Wait and check. Book and traditional press: 2–4 weeks, changing the paper every 3–5 days for the first ten days. Iron: 10–15 seconds per side on low, no steam. Microwave: 30-second bursts at 30–50% power, cooling between bursts, total 1–3 minutes.
- Finish and store. A finished pressed flower feels papery and fully rigid. Handle with tweezers. Store unused pieces flat between sheets of parchment in a sealed box, out of direct light.
Method 1: The book method
Best for: small flat flowers, leaves, ferns. Time: 2–4 weeks. Cost: $0.
Place the flower between two sheets of parchment. Close inside a heavy hardcover book. Stack more books on top. Forget about it for two to four weeks. Simple, free, forgiving — but slow, and the results are a little less flat than a dedicated press. Best beginner method.
Method 2: The traditional flower press
Best for: most flat flowers, and anyone pressing more than occasionally. Time: 2–3 weeks. Cost: $15–$80.
A wooden-plate press with wing-nut tension gives the flattest, cleanest results and lets you press many layers at once. Cheap presses from craft stores run $15–$25; higher-quality ones go $40–$80 and last decades. This is what most serious pressers standardize on.
If you're buying a press, the Wikipedia article on pressed flower craft has a good overview of the tradition and the standard tooling.
Method 3: The iron method
Best for: when you need a flower pressed today. Time: 10–30 minutes. Cost: $0 if you own an iron.
Place the flower between two sheets of parchment. Press with a dry iron on low for 10–15 seconds, lift, wait 10 seconds, repeat. Good for quick projects. The trade-off: colors fade more than slow methods, and thick petals can scorch if you hold the iron too long. Keep the iron moving and keep steam off.
Method 4: The microwave method
Best for: fast pressing with better color than ironing. Time: 1–3 minutes total. Cost: $20 for a microwave press, or $0 DIY with cardboard and ceramic tiles.
Microwave in 30-second bursts at 30–50% power, letting the flower cool between bursts. Stop when the petals feel dry and rigid. The short dry time locks in pigment better than any other fast method — yellows and pinks come out noticeably brighter than with an iron.
Keeping the color from fading
The single most common question pressed flower beginners ask is why do the colors fade? Some of this is unavoidable — most natural pigments oxidize slowly over years. But a lot of early-life fading comes from avoidable mistakes.
- Pick at peak bloom, not past-peak.A flower that's just opened retains far more color than one that's already starting to go.
- Morning, not afternoon. After the dew has dried but before mid-day heat. Afternoon-picked flowers fade faster, almost always.
- Dry faster to hold color. Microwave or iron methods retain more pigment than slow book-pressing, because enzymes that degrade pigment stop working sooner.
- Silica gel accelerates drying and sharpens color. A small silica packet (or a tray of silica gel buried in the press layers) pulls moisture out fast.
- UV fades everything. Store and display pressed flowers out of direct sunlight. A framed piece on a south-facing windowsill will lose color noticeably in a single summer.
- Pink, yellow, and white hold well. Red browns over time. Purple is the most volatile — anthocyanins (the pigment in purples and blues) break down quickly in the presence of oxygen, acid, or moisture.
What to do with pressed flowers
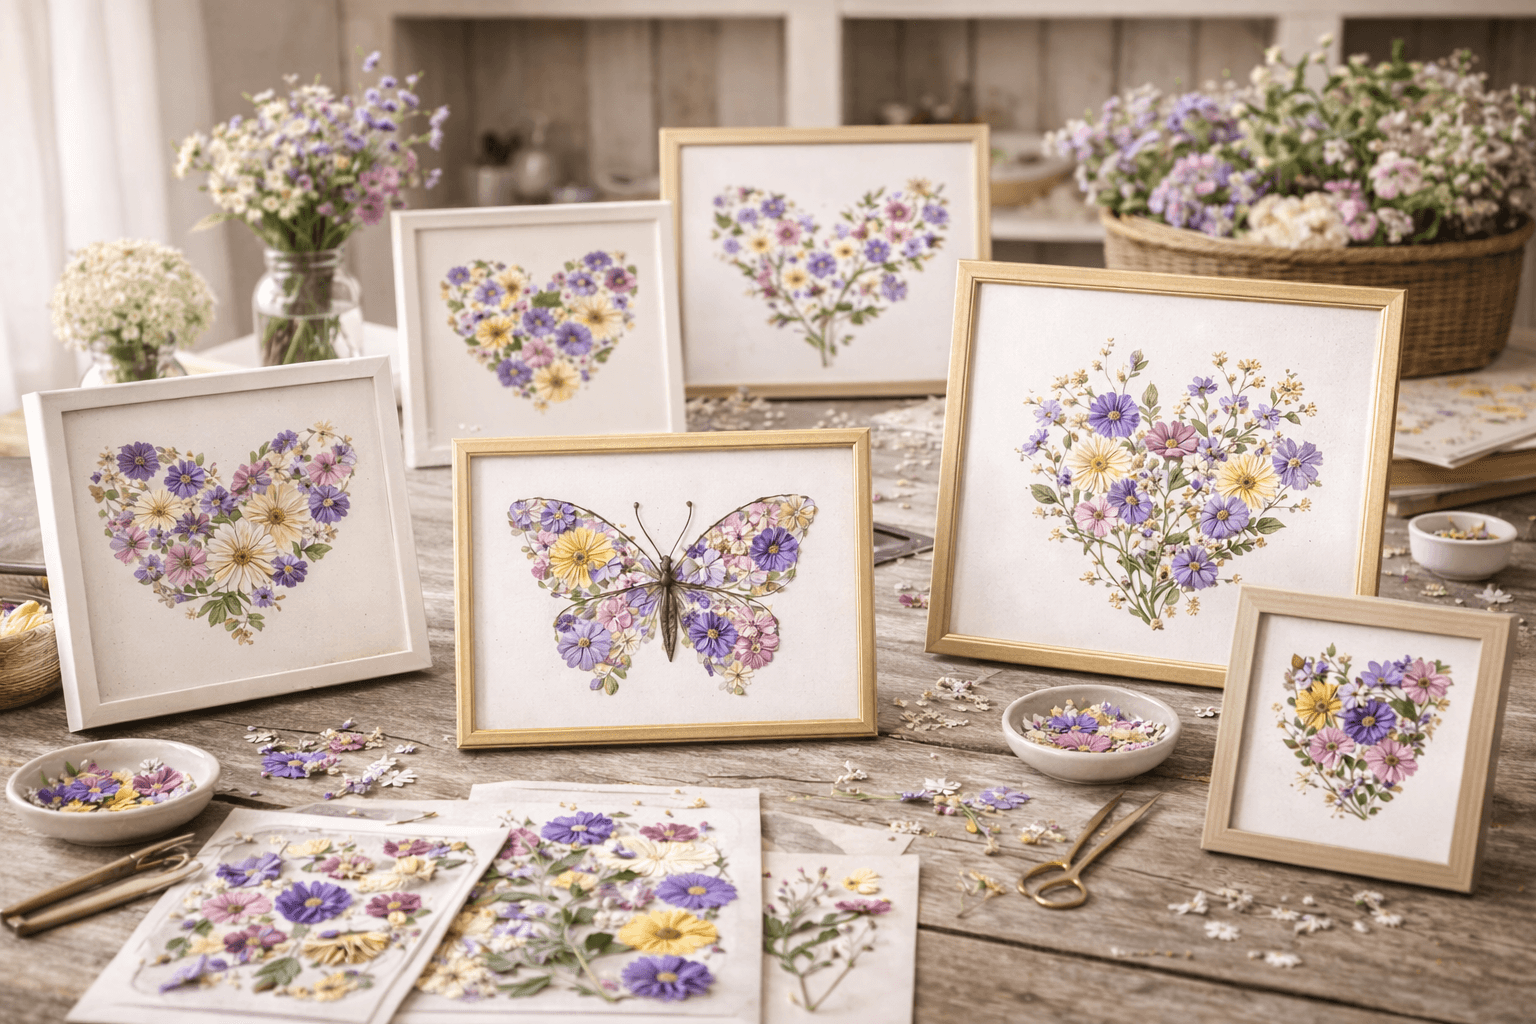
Once they're dry, the fun part. Common projects:
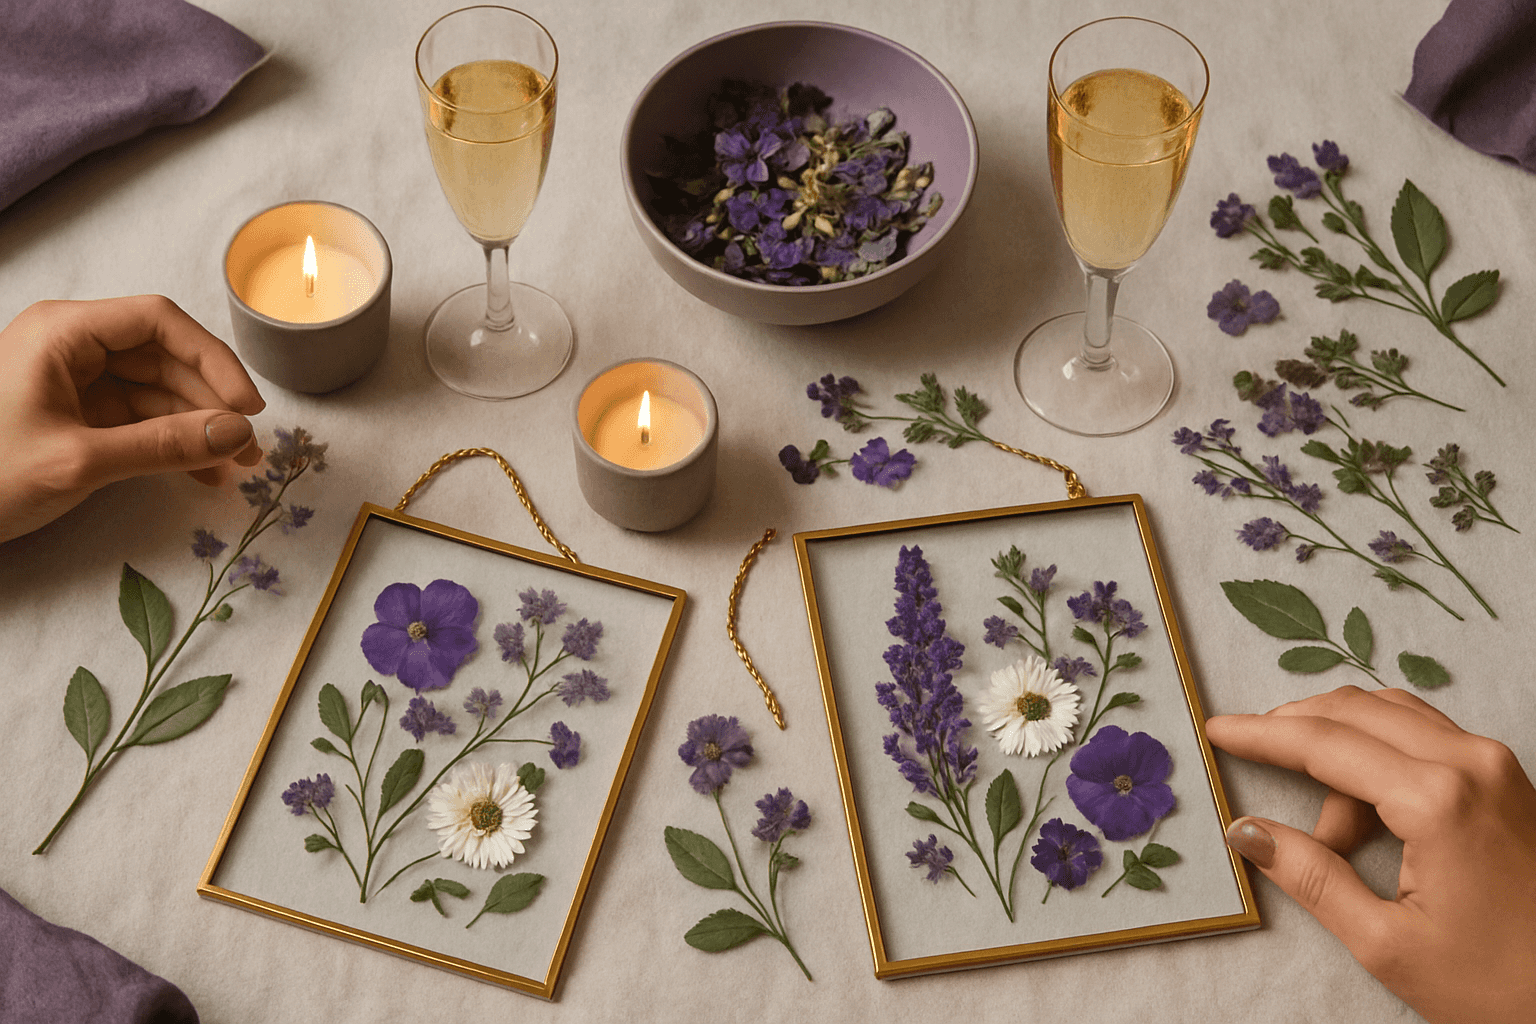
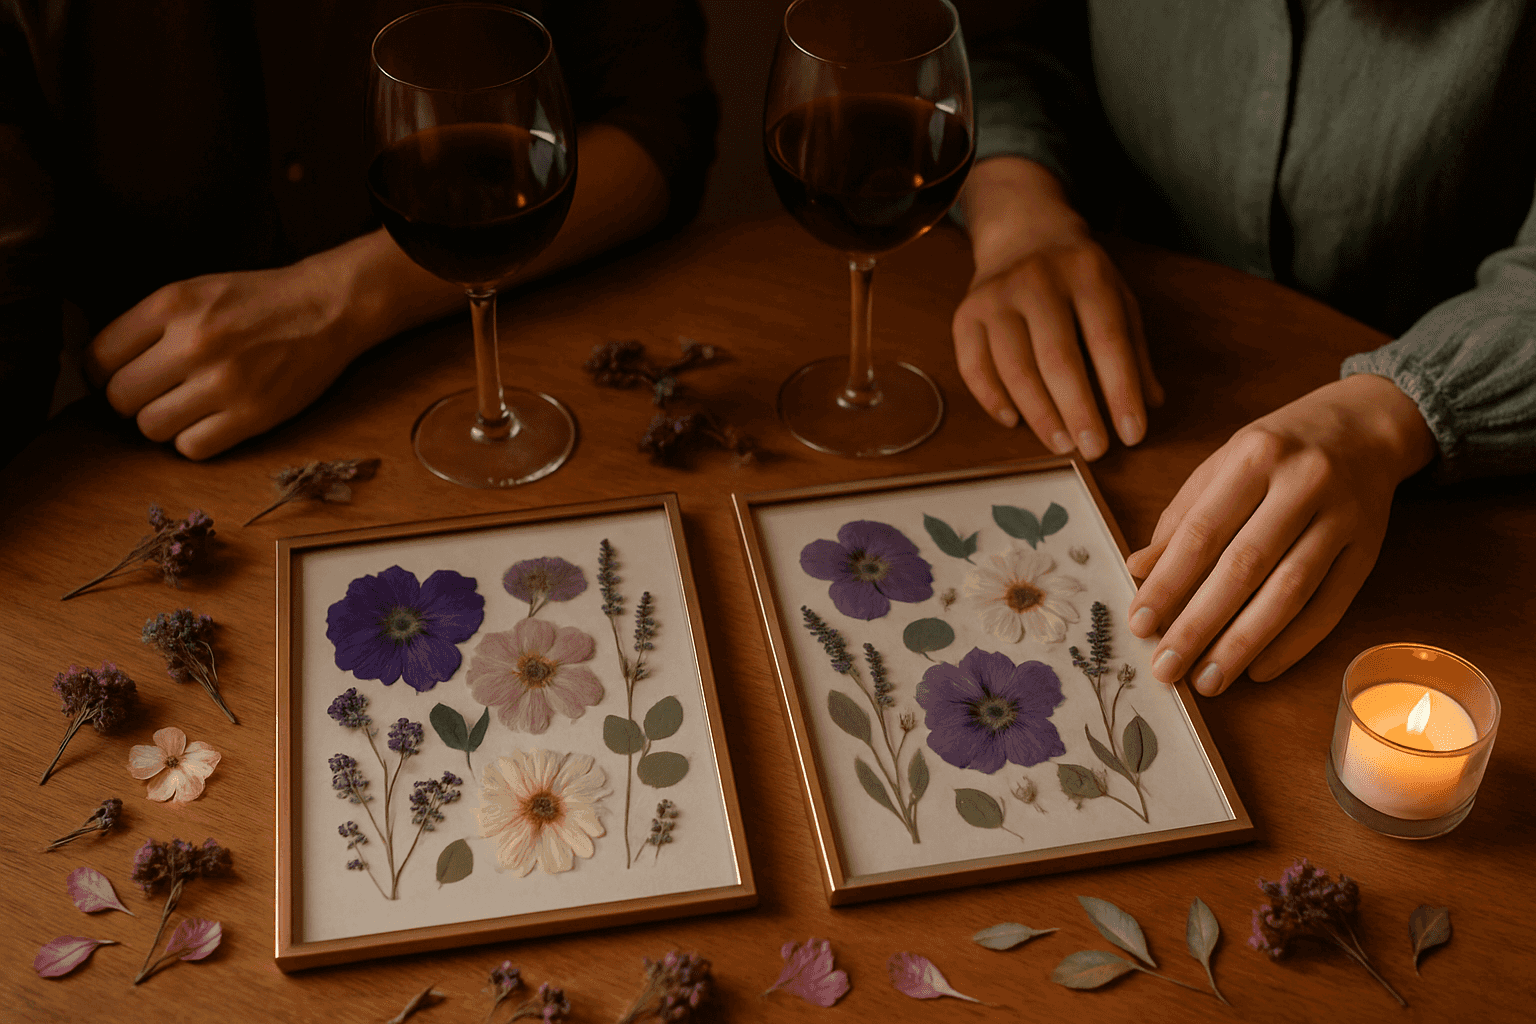
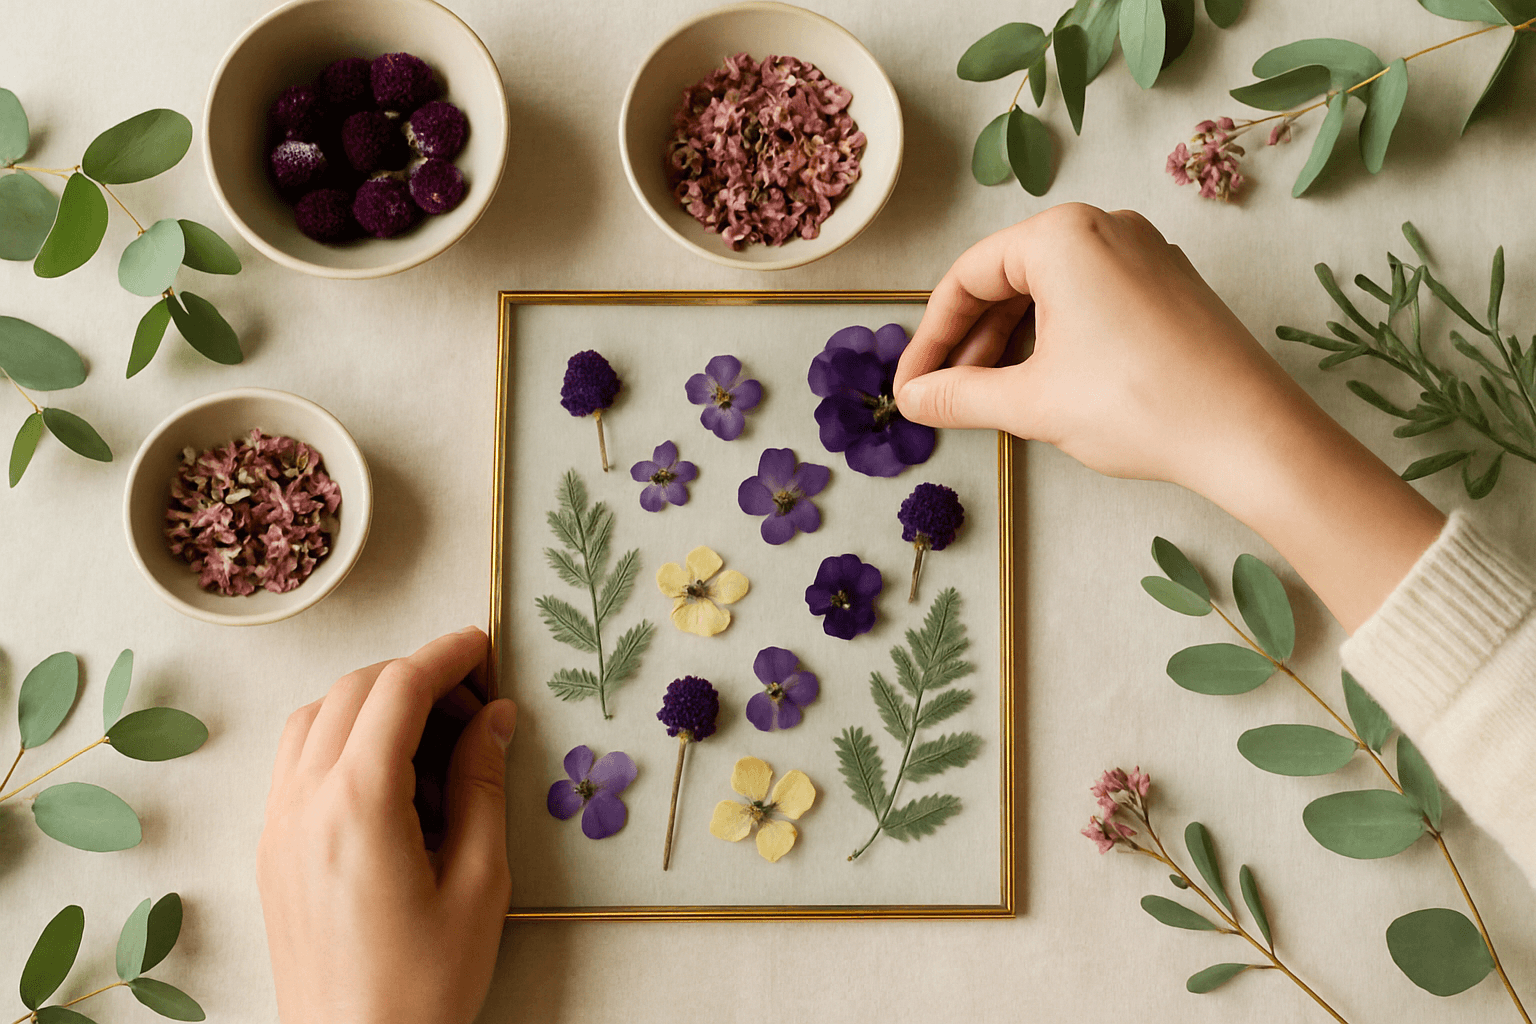
- Glass floating frames — the most elegant display. Two glass panes, flowers between, no adhesive required. This is the format most of our workshop pieces use.
- Canvas arrangements — mount with a dot of acid-free PVA glue for wall art.
- Bookmarks — laminate for durability.
- Resin jewelry — embed in clear casting resin for pendants or rings.
- Cards and invitations — glue directly, then seal with clear vellum or a spray fixative.
FAQ
How long does it take to press a flower?
Between 10 minutes (iron or microwave) and 3–4 weeks (book or traditional press). The slower methods produce flatter, more archival results; the fast methods are fine for low-stakes crafts but fade quicker and scorch more easily.
Why do my pressed flowers turn brown?
Three usual causes: (1) the flower was past peak when picked, (2) moisture got trapped because the paper wasn't changed often enough in the first ten days, or (3) the flower was too thick and took too long to dry. Thick flowers need to be split or dissected before pressing; paper should be changed every 3–5 days during the first ten days.
Can I press roses?
Yes, but split them vertically with a sharp knife first so only one layer of petals sits on the paper. Alternatively, press individual petals separately and reconstruct the bloom on your finished piece.
How do I frame pressed flowers?
The easiest approach is a glass floating frame — two panes of glass with flowers sandwiched between, no adhesive. For canvas or paper backing, attach with a tiny dot of acid-free PVA glue or archival mounting paper. Seal the back of the frame with paper tape to keep moisture and insects out.
How long do pressed flowers last?
Properly dried pressed flowers last decades when kept flat, sealed from humidity, and out of direct sunlight. The Harvard University Herbaria holds pressed specimens that are over 150 years old and still clearly identifiable. UV and moisture are the two main enemies — guard against both and the piece will outlive the frame.
Want to skip the 3-week wait?Our workshops use pre-pressed, pre-sorted botanicals — you get the creative part (arranging + framing) without the month of waiting for flowers to dry.Book a Workshop